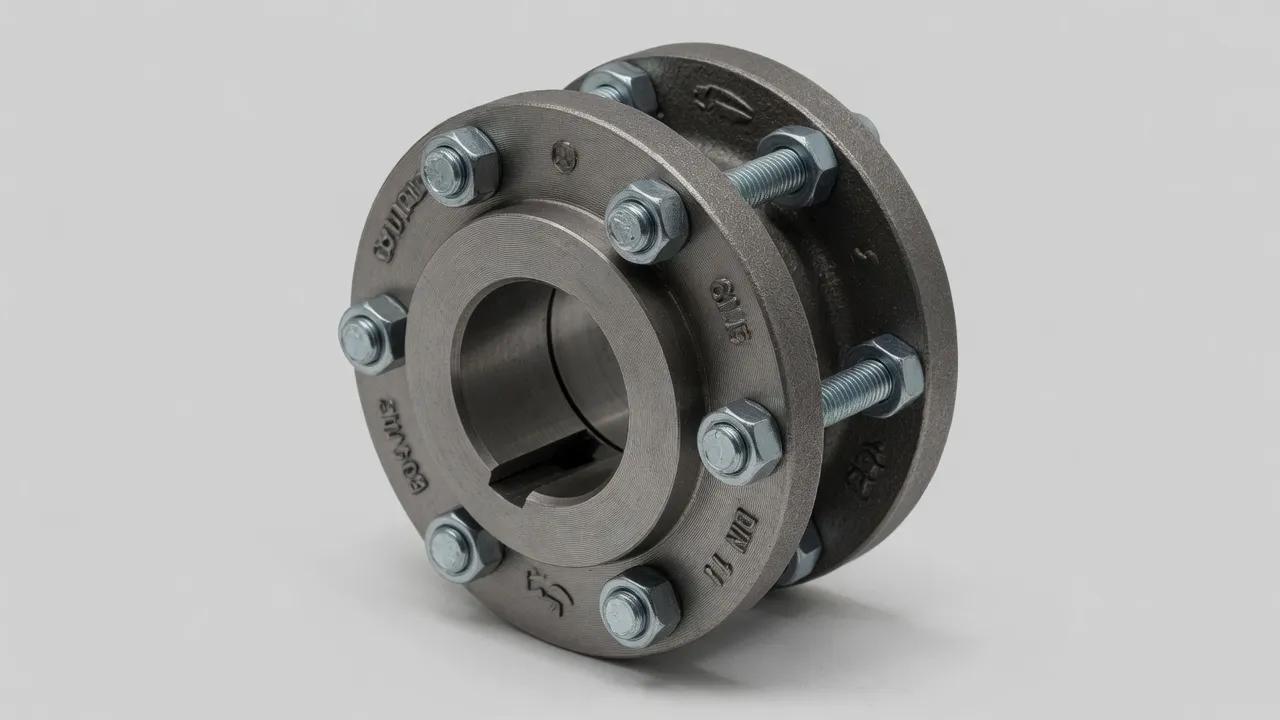
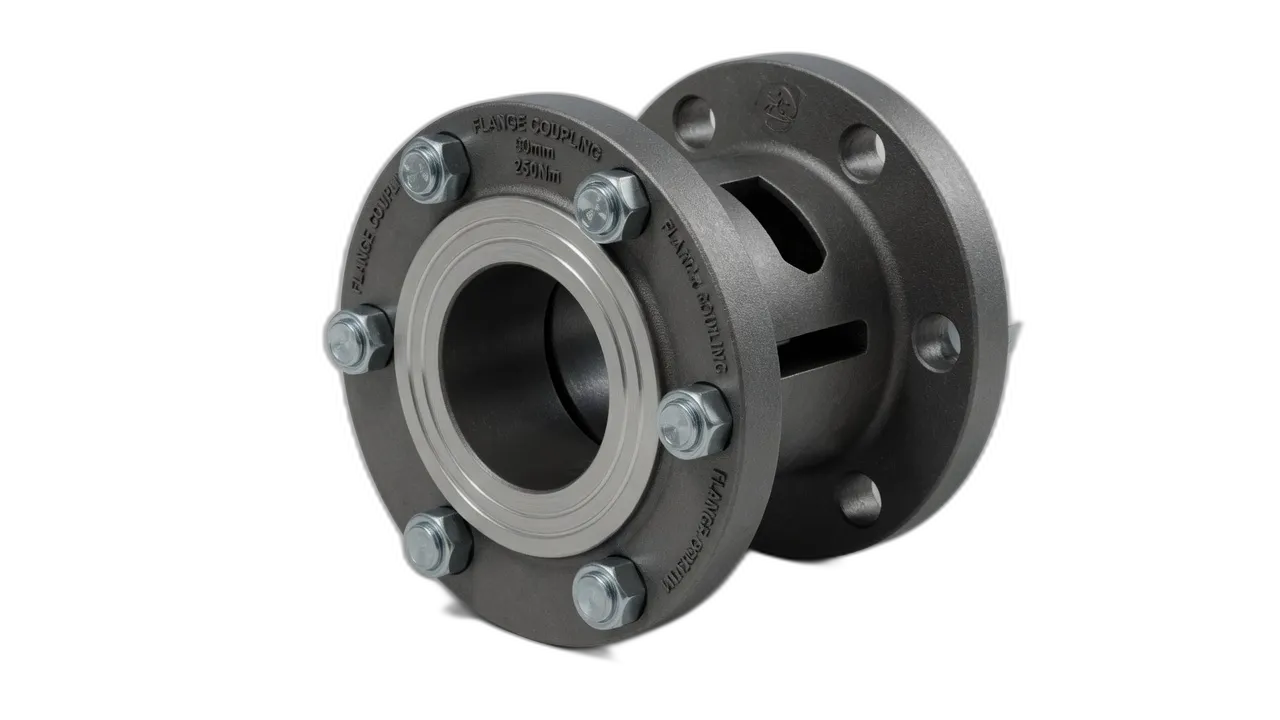
Coupling bolt torque is one of the most overlooked specifications in coupling installation and maintenance. In the rush to reassemble after a coupling repair, bolts are frequently tightened by feel rather than by torque wrench — and the feel method is unreliable by a margin of ±30% or more. The consequences of systematic under-torquing (fretting, progressive loosening, and eventually coupling slip) or over-torquing (bolt fracture, flange distortion, and loss of clamping force) are not immediate but accumulate over time into coupling failures that have no obvious cause at the time they occur. This guide covers the correct bolt torque specifications for cast iron and steel rigid flange couplings and EP-YL series precision couplings, the correct tightening sequence, and the maintenance intervals that maintain clamping force throughout the coupling’s service life.
How Coupling Bolt Torque Works — The Engineering Basis
A coupling bolt tightened to its specified torque value stretches elastically — like a spring — developing a clamping force (preload) that presses the two mating flange faces together. The relationship between tightening torque (T) and bolt preload (F) is: T = K × d × F, where K is the nut factor (approximately 0.15–0.20 for clean, lightly oiled threads), d is the bolt nominal diameter, and F is the preload force in Newtons. This preload force, distributed across the flange contact area, generates a friction force that resists relative rotation between the two flanges — and this friction force is the torque transmission mechanism in a bolted rigid coupling.
If the preload is insufficient, the friction force at the flange contact is exceeded when the coupling transmits its rated torque, and the flange faces slip against each other. Each slip cycle generates fretting debris and enlarges the bolt holes slightly, further reducing the effective preload for subsequent cycles. Left unaddressed, this progressive loosening leads to complete bolt failure and loss of torque transmission.
Standard Torque Values by Bolt Size and Grade
Bolt Size
Grade 8.8 (Nm)
Grade 10.9 (Nm)
Notes
M8
22–25
32–36
Standard for F40–F80 tyre couplings and small jaw couplings
M10
45–50
64–72
Standard for F100–F125 couplings and medium rigid flanges
M12
78–88
112–125
Standard for F125–F160 couplings and medium-large rigid flanges
M16
190–215
275–310
Standard for F160–F200 couplings and large rigid flanges
M20
375–420
535–600
Large rigid flanges and heavy-duty couplings
M24
640–720
920–1,040
Heavy-duty shaft couplings and large flanged shaft connections
M30
1,280–1,440
1,840–2,070
Very large rigid flanges and industrial mill couplings
Important: Always refer to the specific coupling manufacturer’s datasheet for the prescribed torque value for your coupling size. The values above are typical guidelines — specific coupling designs may require different values depending on the flange geometry, bolt circle diameter, and number of bolts. When the manufacturer’s value differs from the general table, use the manufacturer’s value.
The Correct Tightening Sequence — Cross-Pattern Method
1
Hand-Tighten All BoltsInsert all bolts with anti-seize compound on the threads (for future removal) and tighten by hand to zero clearance — no torque wrench yet. Ensure all washers are correctly positioned and bolt heads are seating on flat washer surfaces.
2
First Pass — 50% of Final Torque, Cross-PatternUsing a torque wrench, tighten the first bolt to 50% of the specified final torque. Move to the diametrically opposite bolt (180° away for a 4-bolt coupling; cross-pattern for 6 or 8 bolts). Continue around the bolt circle in the cross-pattern until all bolts are at 50% torque.
3
Second Pass — 100% of Final Torque, Cross-PatternRepeat the cross-pattern sequence, tightening each bolt from 50% to 100% of the specified torque. Do not skip bolts or tighten sequentially — the cross-pattern is essential for even clamping force distribution across the flange face.
4
Verification PassAfter the second pass, verify each bolt with the torque wrench set to the final torque. Any bolt that turns further has not reached final torque — continue tightening. Any bolt that reaches the click without movement has achieved final torque — proceed to the next.
5
Re-Torque After First 72 Hours of OperationAfter the first heat cycle, re-torque all bolts in the same cross-pattern sequence. New bolt assemblies relax 5–10% from initial thermal conditioning — the re-torque restores the design preload. Record the date and values.
Maintaining Bolt Torque Through Service Life
Interval
Action
Trigger for Additional Check
After first 72 hours of operation
Re-torque all coupling bolts — cross-pattern to specification
Mandatory for all new coupling installations
Annual maintenance shutdown
Verify torque on all bolts — replace any that turn beyond specification
Any bolt that is noticeably loose triggers a full torque check
After any vibration event or process upset
Check and re-torque
Abnormal vibration, process jam, or emergency stop
After each coupling disassembly
Replace bolts if Grade 10.9 (yield-to-torque); inspect Grade 8.8
After every disassembly for Grade 10.9 bolts
Frequently Asked Questions
Why do coupling bolts need to be torqued to a specific value?+
Coupling bolt torque controls the clamping force between the two mating flange faces. This clamping force, multiplied by the coefficient of friction between the faces and the effective bolt circle radius, is what determines how much torque the coupling can transmit without flange face slip. Under-torqued bolts produce insufficient clamping force — the flange faces slip under load, causing fretting corrosion and progressive loosening. Over-torqued bolts can yield the bolt thread, distort the flange face, or fracture the bolt head fillet — all of which reduce or eliminate the clamping force the bolt was intended to provide.
Can I use any torque wrench for tightening coupling bolts?+
Use a calibrated torque wrench appropriate for the torque range required. For M8–M12 coupling bolts (common on small to medium couplings), a 1/4 or 3/8 drive torque wrench calibrated to 5–80 Nm is appropriate. For M16–M24 coupling bolts on larger heavy-duty couplings, a 1/2 or 3/4 drive wrench calibrated to 80–500 Nm is required. Have your torque wrenches calibrated annually — a wrench that reads 50 Nm but delivers 60 Nm will consistently over-torque coupling bolts, and one that delivers 40 Nm will consistently under-torque them.
How often should coupling bolts be re-torqued?+
Coupling bolts should be re-torqued at three specific points: after the first 24–72 hours of operation (bolts relax from initial thermal cycling and surface conditioning); at each annual maintenance inspection (vibration and thermal cycling cause gradual relaxation over time); and after any coupling disassembly and reassembly, always re-torqueing to specification. In high-vibration applications (reciprocating machinery, crushers), re-torque coupling bolts at each scheduled maintenance visit rather than annually.
Should I use thread locking compound on coupling bolts?+
Standard coupling bolts on industrial rigid flange couplings should not require thread-locking compound when correctly torqued — the bolt preload is sufficient to prevent loosening under normal operating vibration. However, for coupling bolts in high-vibration applications (reciprocating compressors, crusher drives, vibrating equipment) where re-torquing between maintenance intervals is impractical, a medium-strength removable thread-locking compound (Loctite 243 or equivalent) on the bolt threads before tightening provides insurance against vibration-induced loosening. Do not use high-strength permanent grade — coupling bolts must be removable for maintenance.
What happens if coupling bolts are torqued unevenly?+
Uneven bolt torque — from sequential rather than cross-pattern tightening, or from mixing new and worn torque wrenches — produces uneven clamping force distribution across the flange face. High clamping force at some bolt positions and low at others creates a non-uniform contact pressure pattern. Under torque loading, the flange face slip initiates at the under-loaded positions and progresses to adjacent areas. Cross-pattern torquing in two passes (first pass to 50% of final torque, second pass to 100%) ensures even clamping force distribution and avoids this problem.
Need Expert Coupling Advice?
Our engineering team in Condell Park NSW is ready to help — free of charge.